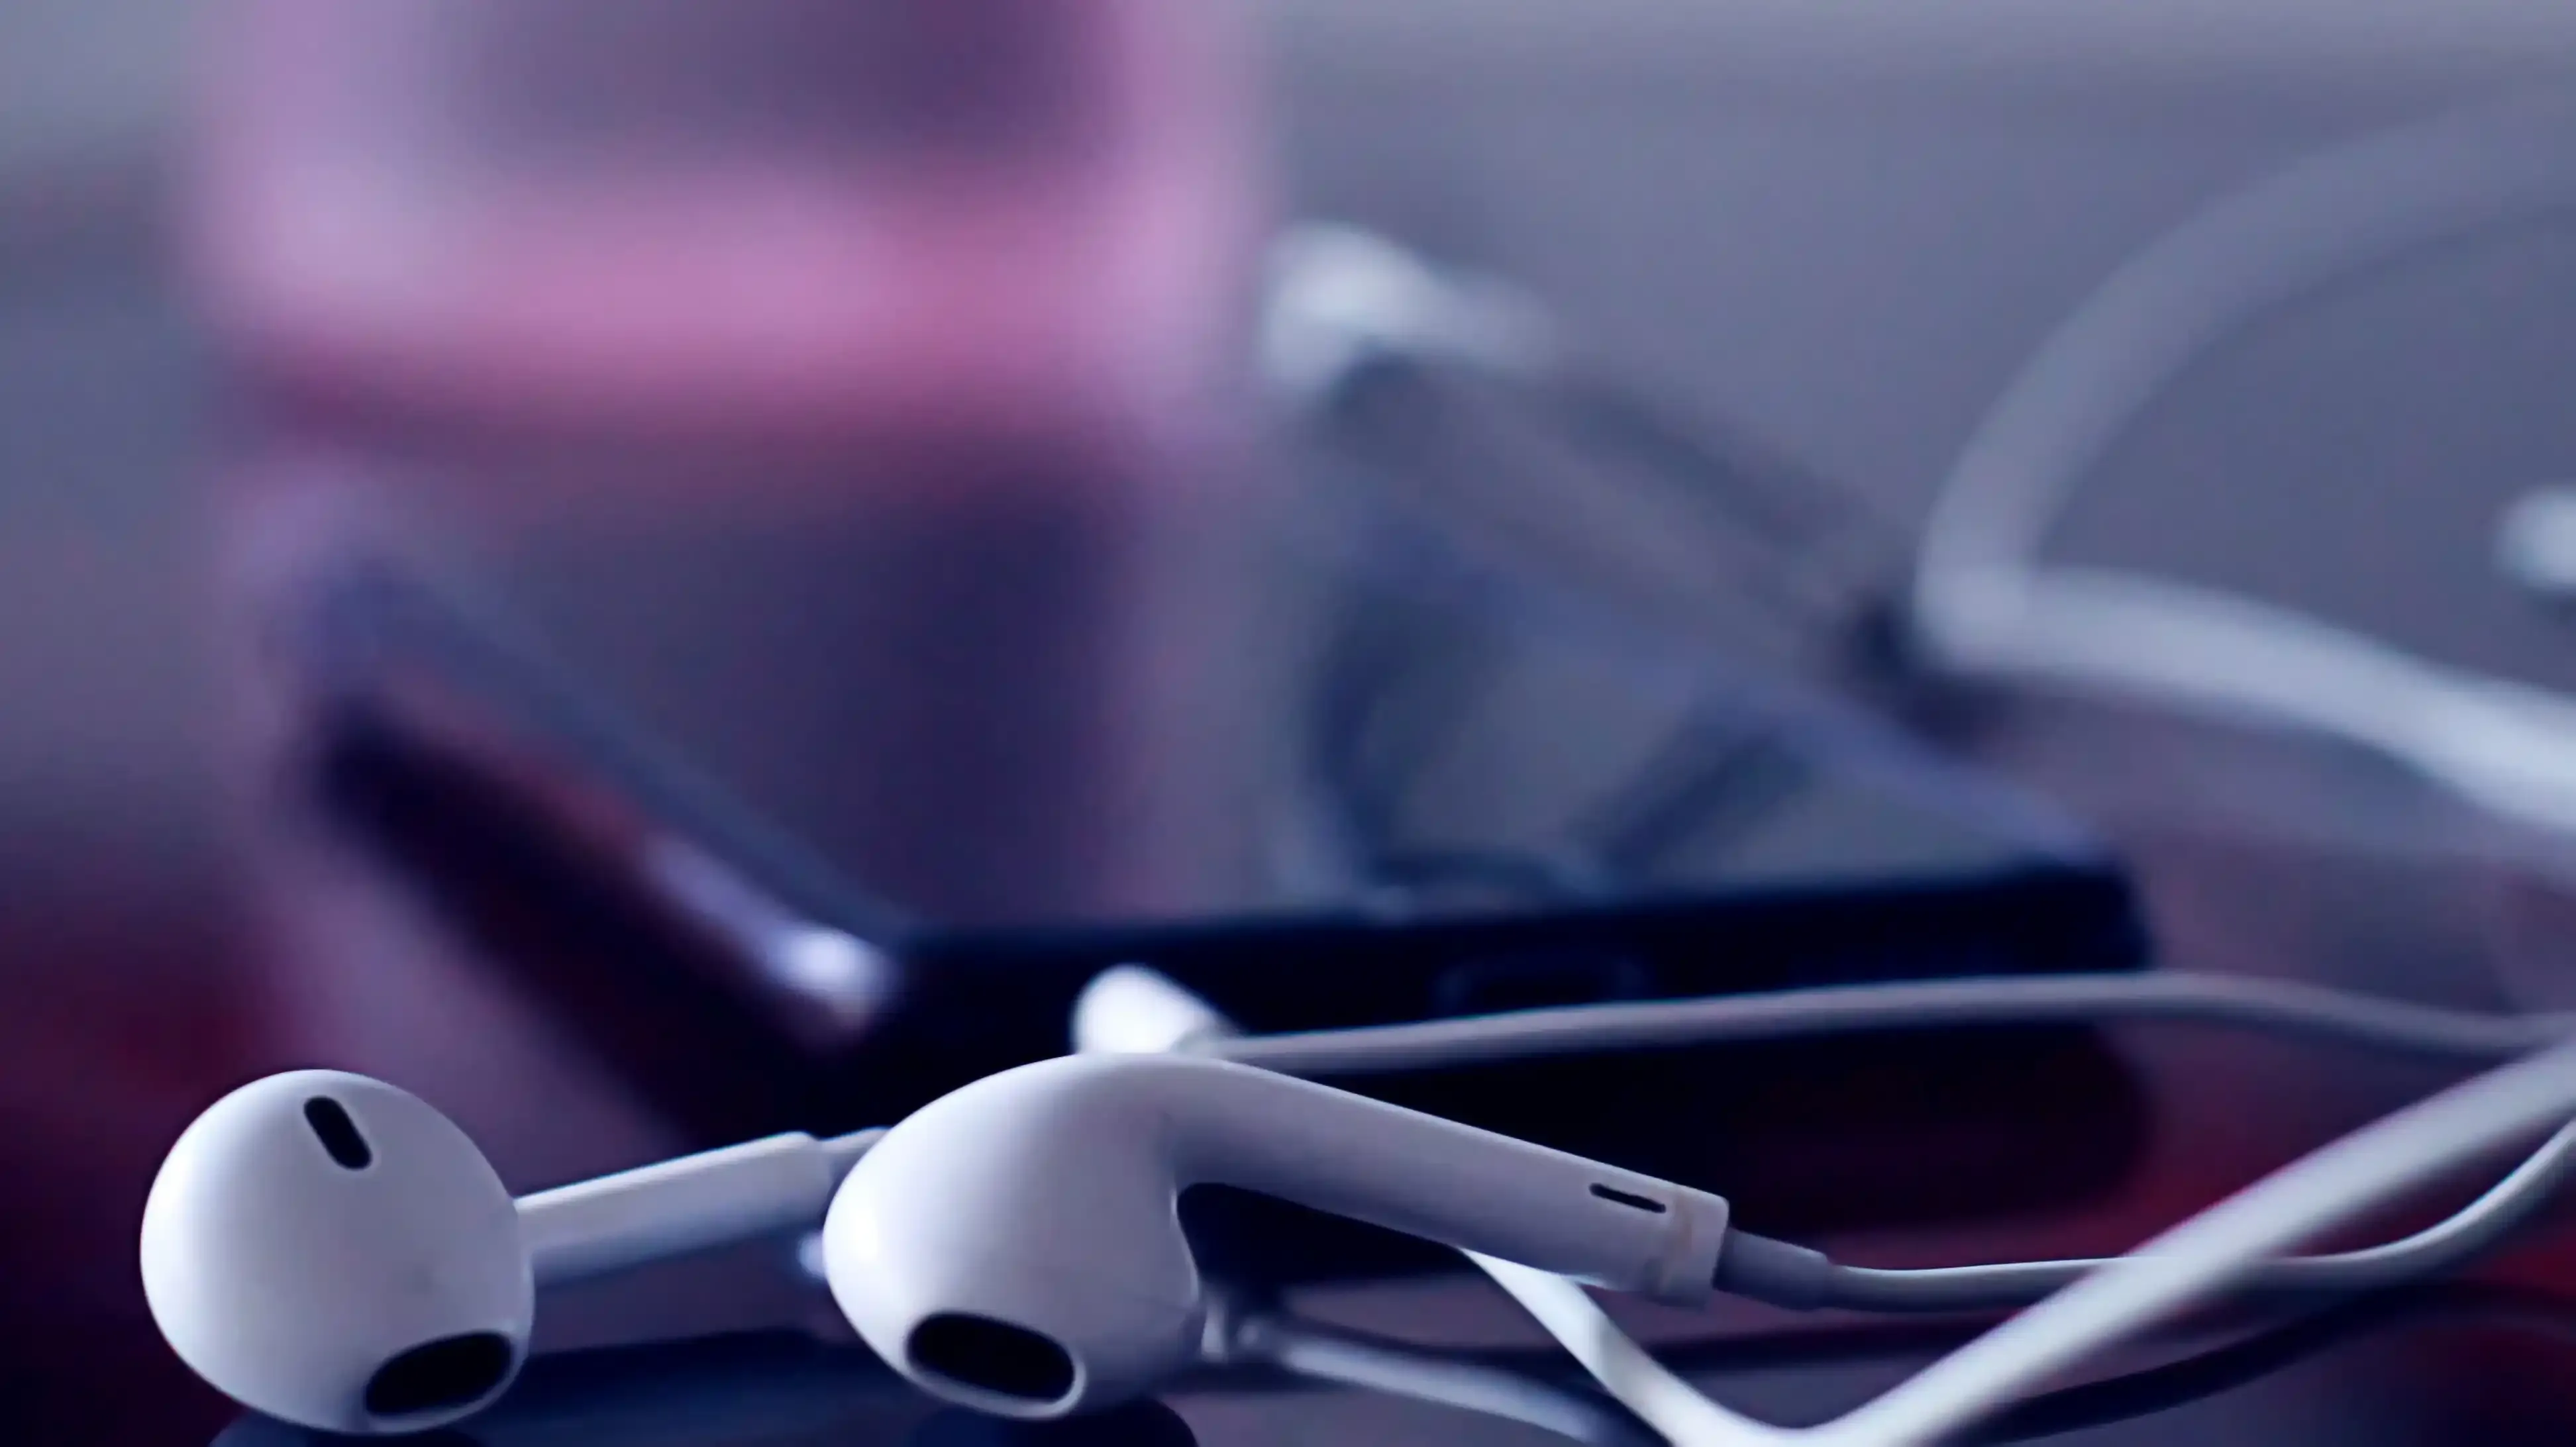
Today, We are going to find out a proper fix to one of the most troublesome aspect of our daily life. It’s our earphones! I’m pretty sure, just like me, everyone had had this issue in some part of their life. We put on our earphones, play some music only to find out that only one side of our earphones is working.
It’s a common problem and there was no fix until the same happened to my $100 AKG earphones which just recently went out of warranty and, instead of simply throwing my $100 in the garbage, this time I decided to find a fix.
It was a hit and trial which gave me a lot of trouble before I was able to find out a proper fix to my broken earphone. So, without wasting anymore time. Let’s now get straight into it.
The most common reason of your broken earphone is its wire. Earphones wires bend back and forth so many times near the audio jack that there happens a short in the wiring. Usually this shorting happens only within a very small part of wire and is not fully localized.
For repairing your headsets, you’ll need a few tools which are easily available at our local stores.
You first need to Plug in your headphones in to audio source.
Put on your headphones and move your hand up and down on the wire and bend it back and forth every ½ inch to locate where the wires have shorted.
Once you’ll reach the short circuit part of wire and bent it back and forth, the sound will start coming from both the ends, there is it! just there you have found the faulty wiring which is most likely to be found right next to the jack (but, it could be anywhere so don’t just stick near the audio jack).
Now what you need to do is to Isolate this faulty area by applying masking tape on both the sides of the wire leaving an inch between both tape markings carrying the part with short circuited wire. (The faulty area should be in between the tape markings.)
Use the wire cutter to carefully cut ½ inch of shorted area of the wire each side of the faulty area.

Pull off the insulation of the wire shielding on both the sides to expose the wires.
If the wiring is extremely thin, you may have to use a sand paper to expose the wires on each side for further steps.
Once the wires are stripped and exposed on both the sides, reconnect the wires together using either a soldering iron or a splicing method of your choice or you could simply just twist them together and tug them tight so they don’t easily spit out of each other.
After connecting both the wire together, Test the headphones to check if the sound is coming from both sides. If not, reconnect them properly.
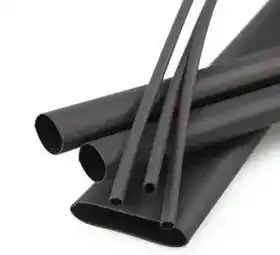
Once everything is working properly (I’m pretty sure it will) use the shrink tubing or apply electrical tape on it to further protect I would recommend using shrink tubing if you don’t want to compromise with the looks of your earphones like me.
Congratulations! You have just successfully repaired your earphones.
1 year ago
1 year ago
1 year ago
1 year ago
 Puff
Puff